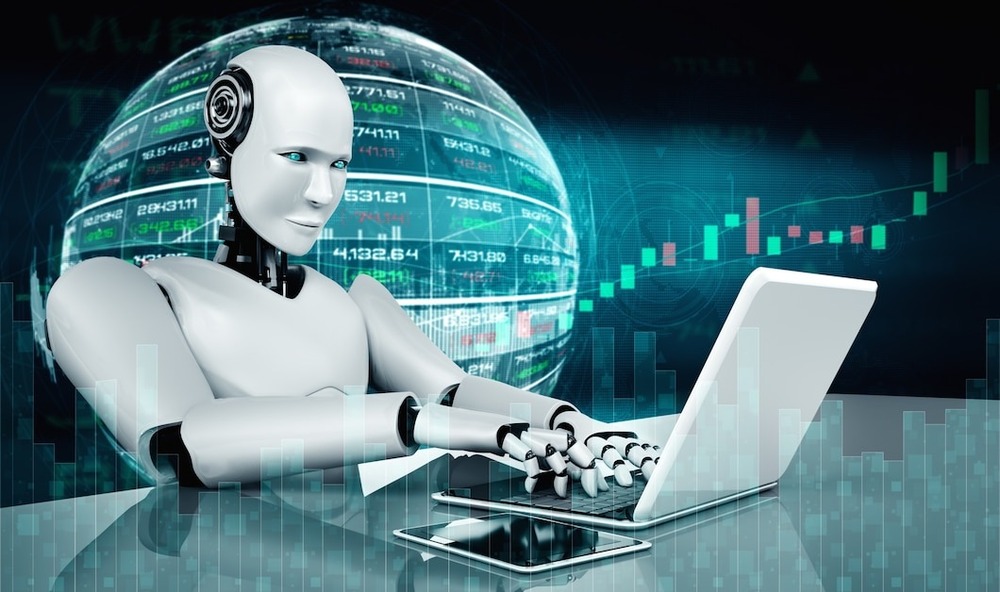
In the fast-paced world of trading, having an edge can make all the difference. One of the most effective ways to gain that edge is by building your own trading robot. This blog will guide you through the process, providing rich statistics, clear tables, and a sprinkle of emojis to keep things engaging. Let's dive into the world of algorithmic trading!

Understanding Trading Robots
Trading robots, also known as algorithmic trading systems or automated trading systems, are programs that execute trades on your behalf based on predefined criteria. According to a report by MarketsandMarkets, the algorithmic trading market is expected to grow from $12.1 billion in 2020 to $18.8 billion by 2026, at a CAGR of 7.5%. 📈
Why Build Your Own Trading Robot?
- Customization: Tailor the robot to your specific trading strategy.
- Emotion-Free Trading: Eliminate emotional decision-making that can lead to losses.
- Backtesting: Test your strategies against historical data to see how they would have performed.
Step 1: Define Your Trading Strategy
Before you start coding, it's crucial to have a clear trading strategy. This could be based on technical indicators, price action, or even news sentiment. Here's a simple breakdown of popular trading strategies:
| Strategy Type | Description | Popular Indicators |
|---|---|---|
| Trend Following | Buy when prices are rising, sell when falling. | Moving Averages, MACD 📊 |
| Mean Reversion | Prices will revert to their mean over time. | Bollinger Bands, RSI |
| Arbitrage | Exploit price differences between markets. | None (market inefficiencies) |
| News-Based Trading | Trade based on news events and sentiment. | Sentiment Analysis Tools |
Step 2: Choose Your Programming Language
The next step is to choose a programming language. Some popular options include:
- Python: Known for its simplicity and extensive libraries (like Pandas and NumPy).
- Java: Offers speed and performance, suitable for high-frequency trading.
- C++: Ideal for low-latency trading systems.
According to a survey by Stack Overflow, Python is the most popular programming language among developers, with over 48% of respondents using it. 🐍
Step 3: Set Up Your Development Environment
To start coding, you'll need to set up your development environment. Here's a simple checklist:
- IDE: Choose an Integrated Development Environment (IDE) like PyCharm or Visual Studio Code.
- Libraries: Install necessary libraries for data analysis and trading, such as:
pandasnumpymatplotlibfor visualization 📊- API Access: Sign up for a trading platform that offers API access, such as Alpaca or Interactive Brokers.
Step 4: Code Your Trading Robot
Now comes the fun part—coding your trading robot! Here's a basic structure you might follow:
```python import pandas as pd import numpy as np
Define your trading strategy
def trading_strategy(data): # Example: Simple Moving Average Crossover short_window = 40 long_window = 100
signals = pd.DataFrame(index=data.index)
signals['price'] = data['Close']
signals['short_mavg'] = data['Close'].rolling(window=short_window, min_periods=1).mean()
signals['long_mavg'] = data['Close'].rolling(window=long_window, min_periods=1).mean()
signals['signal'] = 0.0
signals['signal'][short_window:] = np.where(signals['short_mavg'][short_window:] > signals['long_mavg'][short_window:], 1.0, 0.0)
return signals
```
Step 5: Backtest Your Strategy
Backtesting is crucial to evaluate the effectiveness of your trading strategy. You can use historical data to simulate trades and analyze performance. Here's a sample backtesting results table:
| Metric | Value |
|---|---|
| Total Return | 25% 📈 |
| Maximum Drawdown | 10% |
| Sharpe Ratio | 1.5 |
| Win Rate | 60% |
Step 6: Deploy Your Trading Robot
Once you're satisfied with your backtesting results, it's time to deploy your trading robot. Make sure to monitor its performance regularly and adjust your strategy as needed. You can use platforms like QuantConnect or MetaTrader for deployment.
Step 7: Continuous Improvement
The market is always changing, and so should your trading robot. Regularly update your algorithms based on new data and market conditions. Consider implementing machine learning techniques to enhance your robot's decision-making capabilities. 📊
Conclusion
Building your own trading robot can be a rewarding endeavor, both intellectually and financially. With the right strategy, programming skills, and continuous improvement, you can create a powerful tool that works for you 24/7. Remember, the key to success in trading is not just about having the best robot but also about understanding the market dynamics and adapting to changes. Happy trading! 🚀